Start using your first bitcoin wallet, access guides, tools, and resources here.

Get Started with Bitcoin – Step by Step

Whether you’re a merchant looking to accept Bitcoin or an individual ready to start using it, we’ve made it simple for you.
Follow our easy step-by-step guides to join the peer-to-peer Bitcoin ecosystem.

For Individuals

Start Transacting with Bitcoin

Learn how to set up your wallet, secure your keys, and make your first Bitcoin payment safely and easily.

For Merchants

Accept Bitcoin in Your Business

Add your business to the Bitcoin map, display your QR code, and join the growing community of Bitcoin merchants.

Learn how to securely set up your wallet and send your first transaction in minutes

Free guides to transact

Paid membership for advanced guides & tools

Bitcoin Accepted QR Code

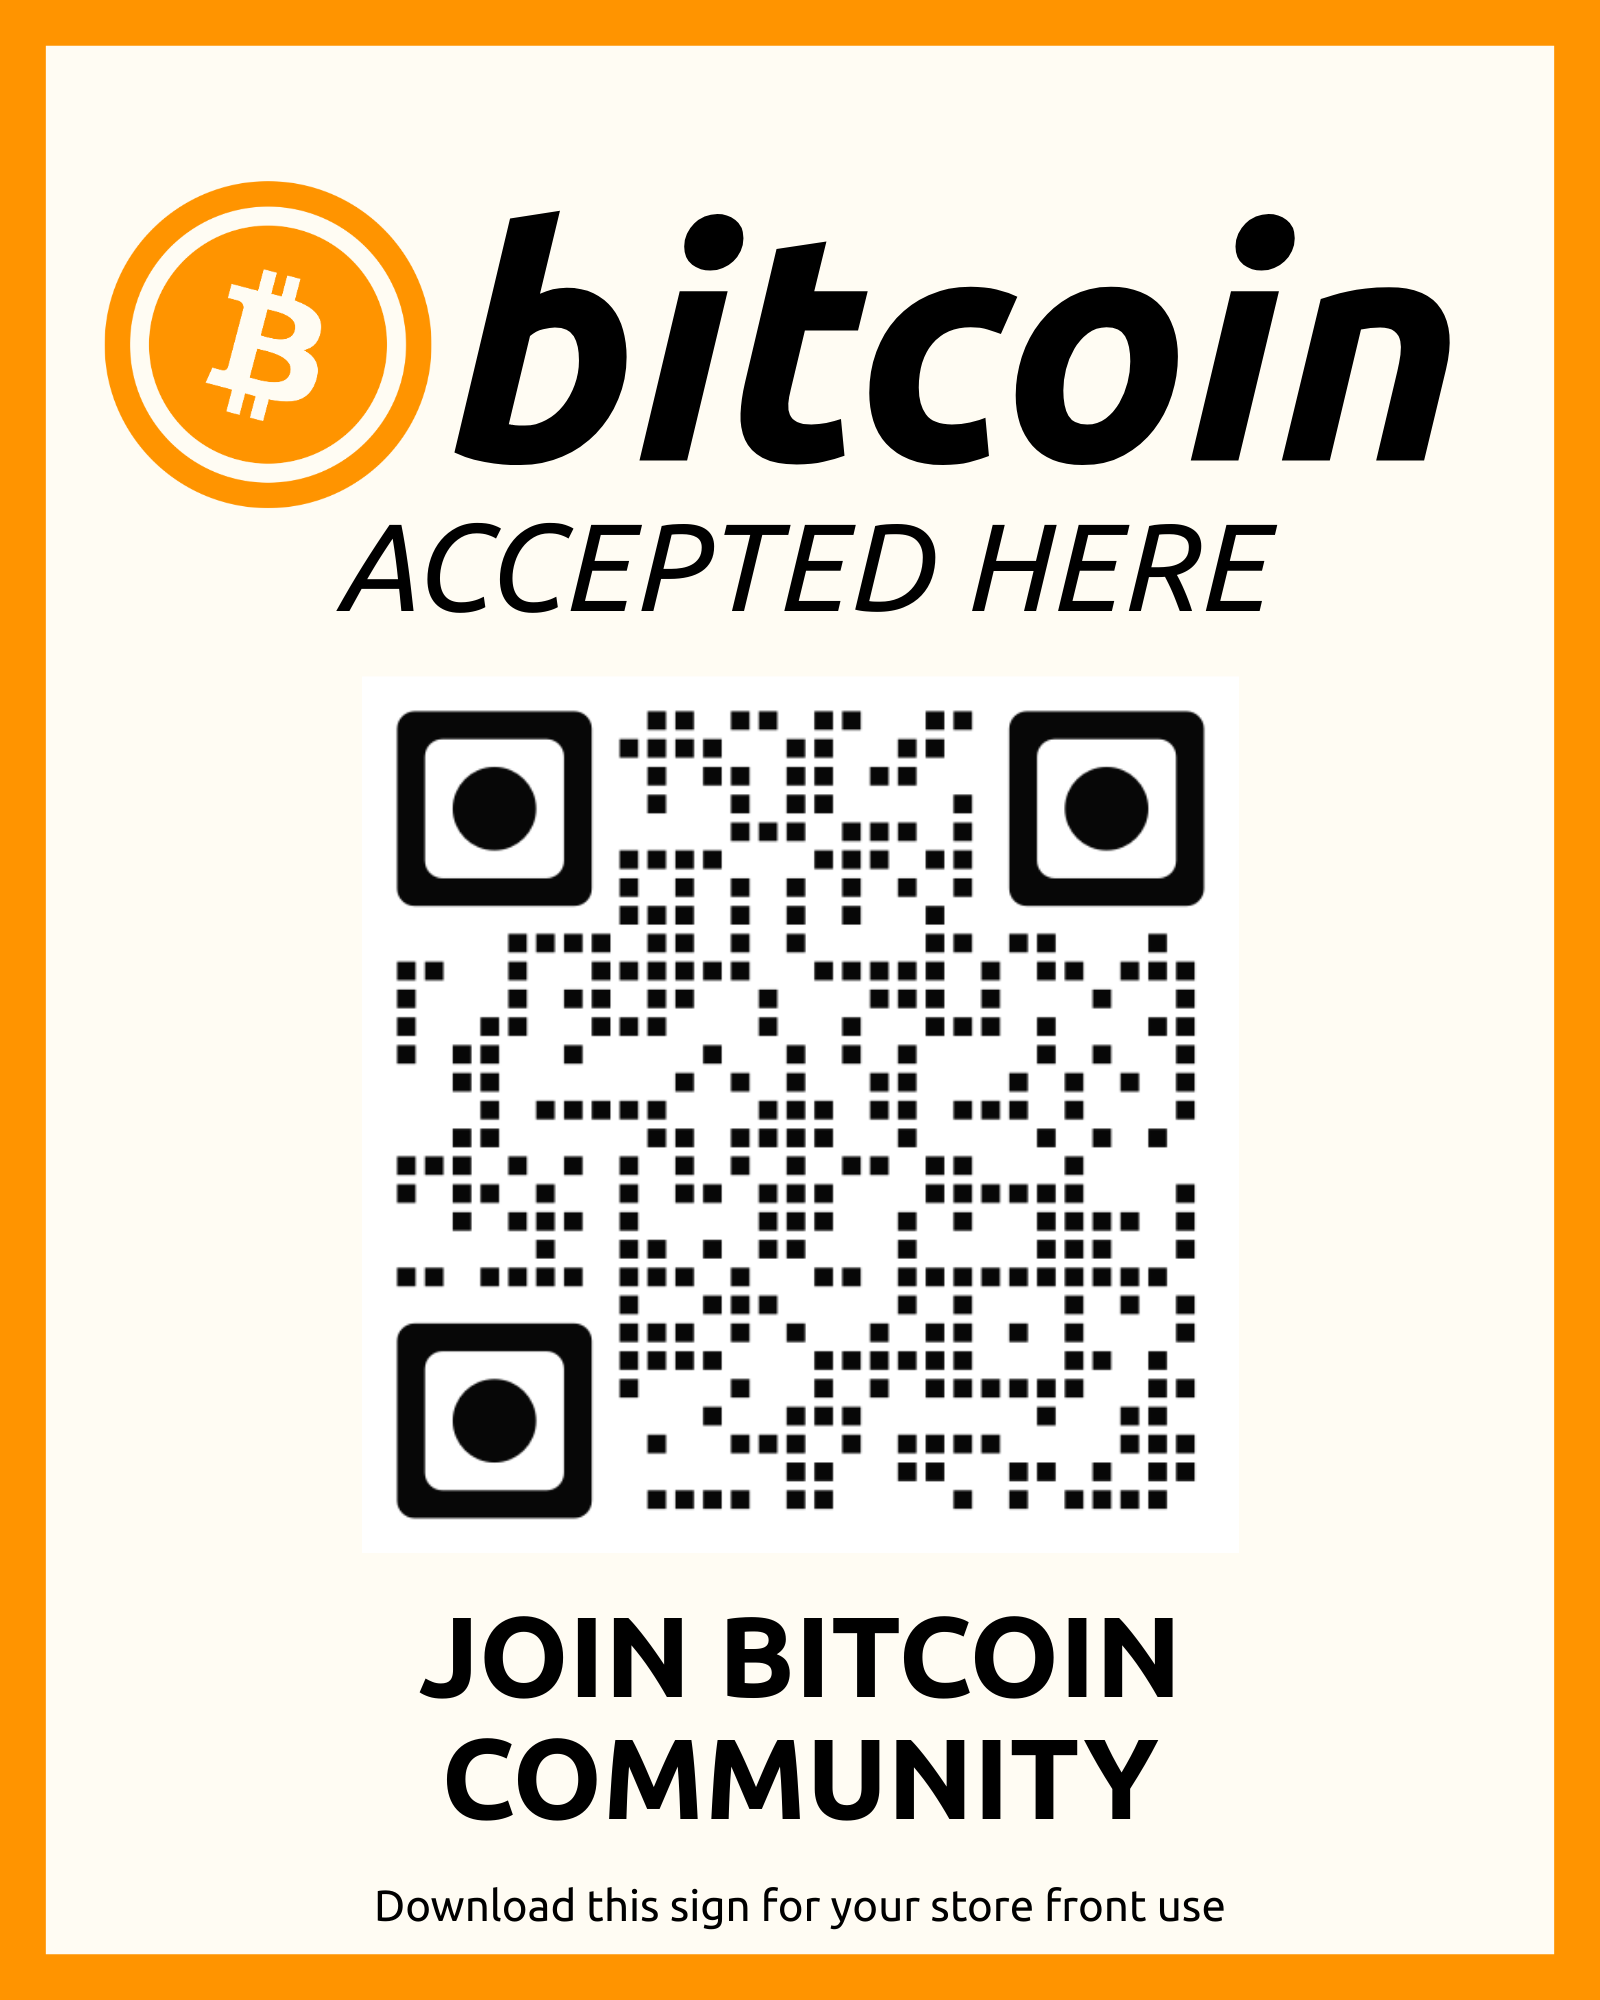
Tap to download, attracts new customers to use Bitcoin.

TheBitcoinMap.org
TheBitcoinMap.com
The Bitcoin ATM Map

📱 Download QR Code for Your Storefront

Display this QR code at your business to let customers know you accept Bitcoin payments!

Join Bitcoin Community QR Code

How to Use This QR Code:

  • ✓ Download and print the QR code
  • ✓ Display it at your checkout counter
  • ✓ Place it in your storefront window
  • ✓ Add it to your menu or promotional materials
  • ✓ Customers scan to access Bitcoin guides
📥 Download QR Code

💬 Need help setting up? Chat with us

Bitcoin Initiatives & Communities

Select a region to explore local Bitcoin ecosystems

FAQ

Frequently Ask Questions

Lorem ipsum dolor sit amet, consectetur adipiscing elit. 

What is Join Bitcoin Community.io?

We’re a community hub, not a vendor.
Our goal is to accelerate the growth of the peer-to-peer Bitcoin economy by providing open access to all resources — for free.

Not at all. You can first explore the education section, learn about wallets, and understand how transactions work. Once you’re ready, we’ll show you where and how to purchase Bitcoin safely.

Our Merchant Tools section includes guides, QR-code signage, and links to maps where you can list your business as a Bitcoin-friendly location.

No. We don’t hold or manage funds. Join Bitcoin Community.io only provides education, tools, and links to trusted third-party resources.

No — all maps, tools, and guides are free. The project runs entirely on community donations to keep Bitcoin adoption open and accessible.

You can make a small contribution through our Donate section using your card or Bitcoin. Every donation helps us maintain free tools, maps, and educational materials for the community.

Yes. We don’t collect sensitive data or store personal wallet information. Any external links (such as merchant maps) open securely on their respective platforms.

Contact Us

4industrev@gmail.com

Office Hours

Monday – Friday, 9 AM – 6 PM (UTC)

Stay Updated with Bitcoin News

Subscribe to our newsletter for Bitcoin education, community updates, and peer-to-peer adoption tips.

Our Service

I am a buyer (Sending Bitcoin)

Step 1: Get and Set Up the Blink App

1. Download the App: Download the Blink wallet from the App Store (iOS) or Google Play Store (Android).
2. Create an Account: Open the app and choose to "create a new account". You will be prompted to enter a valid email address and phone number for security. This setup provides enhanced features and security, like two-factor authentication (2FA) and account backup.
3. Complete the Setup: Follow the on-screen instructions to verify your email and phone number. You will receive and need to enter a verification code into the app.
4. Explore Features: Once set up, you can access the main wallet interface. The Blink wallet has a "Stablesats" feature that lets you hold your funds in a USD-equivalent balance to help with Bitcoin's price volatility.

Step 2: Get a Way to Receive Payments

Blink provides several tools to make it easy for merchants to accept Bitcoin payments. The two most common methods are using a Lightning Address or a Point-of-Sale (POS) system.

Option A: The Lightning Address

This is a simple, human-readable identifier that looks like an email address (e.g., yourname@blink.sv).
1. Find Your Address: Your Lightning Address is typically your username followed by @blink.sv. You can find it in the app's settings or your profile section.
2. Display Your Address: Display this address prominently on your website, social media, or at your point of sale.
3. Customer Pays: Customers can send payments directly to this address. The payment is instant over the Lightning Network, with very low fees.
4. Confirm Payment: You will receive a notification in your Blink app, and the transaction will appear in your wallet's history.

Option B: The Lightning Cash Register (Point-of-Sale)

This feature allows you to generate a dynamic invoice and QR code for each sale.
1. Open the Register: Use the Lightning Cash Register feature in the Blink app.
2. Enter the Amount: Enter the amount of the sale in your local currency (e.g., USD, EUR). The app will automatically convert it to Bitcoin.
3. Generate QR Code: The app will display a unique QR code for the specific payment.
4. Customer Scans and Pays: Have your customer scan the QR code with their Bitcoin wallet to complete the instant payment over the Lightning Network.
5. Confirm the Transaction: The payment will appear in your Blink wallet, confirming that you have received the funds.

Our Service

I am a Merchant (Receiving Bitcoin)

Step 1: Get and Set Up the Blink App

1. Download the App: Download the Blink wallet from the App Store (iOS) or Google Play Store (Android).
2. Create an Account: Open the app and choose to "create a new account". You will be prompted to enter a valid email address and phone number for security. This setup provides enhanced features and security, like two-factor authentication (2FA) and account backup.
3. Complete the Setup: Follow the on-screen instructions to verify your email and phone number. You will receive and need to enter a verification code into the app.
4. Explore Features: Once set up, you can access the main wallet interface. The Blink wallet has a "Stablesats" feature that lets you hold your funds in a USD-equivalent balance to help with Bitcoin's price volatility.

Step 2: Get a Way to Receive Payments

Blink provides several tools to make it easy for merchants to accept Bitcoin payments. The two most common methods are using a Lightning Address or a Point-of-Sale (POS) system.

Option A: The Lightning Address

This is a simple, human-readable identifier that looks like an email address (e.g., yourname@blink.sv).

1. Find Your Address: Your Lightning Address is typically your username followed by @blink.sv. You can find it in the app's settings or your profile section.
2. Display Your Address: Display this address prominently on your website, social media, or at your point of sale.
3. Customer Pays: Customers can send payments directly to this address. The payment is instant over the Lightning Network, with very low fees.
4. Confirm Payment: You will receive a notification in your Blink app, and the transaction will appear in your wallet's history.

Option B: The Lightning Cash Register (Point-of-Sale)

This feature allows you to generate a dynamic invoice and QR code for each sale.

1. Open the Register: Use the Lightning Cash Register feature in the Blink app.
2. Enter the Amount: Enter the amount of the sale in your local currency (e.g., USD, EUR). The app will automatically convert it to Bitcoin.
3.Generate QR Code: The app will display a unique QR code for the specific payment.
4. Customer Scans and Pays: Have your customer scan the QR code with their Bitcoin wallet to complete the instant payment over the Lightning Network.
5. Confirm the Transaction: The payment will appear in your Blink wallet, confirming that you have received the funds.